
If you have ever visited a professional roastery or a specialty coffee lab, you have likely seen experts slurping coffee from small bowls with silver spoons. This ritual is known as “cupping,” and it is the industry standard for evaluating coffee quality. Cupping is designed to be a standardized, objective way to compare different beans side-by-side, stripping away the variables of brewing methods like V60 or Espresso. By using the same water temperature, grind size, and immersion time for every bowl, the only thing you are testing is the coffee itself.
Hosting a coffee cupping at home is one of the fastest ways to sharpen your palate. It forces your brain to make direct comparisons, making it much easier to identify flavor notes that you might miss when drinking a standard cup. Whether you are doing this alone to train your senses or with friends as a social event, cupping turns coffee into an interactive, educational experience. In this guide, we will show you how to set up your own cupping laboratory with equipment you already have in your kitchen.
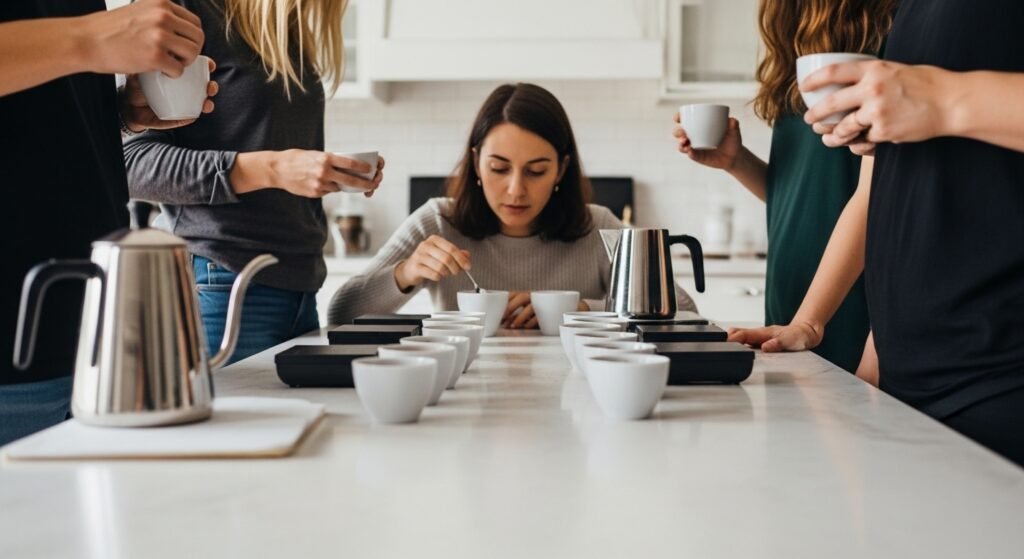
The Essential Equipment: Setting the Stage
To host a successful cupping, you don’t need expensive gadgets, but you do need consistency. You will need several identical small bowls or heat-resistant glasses (about 200ml to 250ml). You will also need two spoons per person—ideally deep, rounded “soup-style” spoons—and a few glasses of clean water for rinsing the spoons between bowls.
Accuracy starts with the beans. You should aim to taste at least three to five different coffees. A great lineup would include a diverse flavor map of Brazilian regions compared against a bright Ethiopian or a bold Kenyan. Before you begin, ensure you have a digital scale ready. For cupping, we use a specific golden ratio of roughly 8.25 grams of coffee per 150ml of water. This ensures the concentration is light enough to perceive subtle nuances but strong enough to evaluate the body.
Step 1: Evaluating the Dry Fragrance
The first stage of cupping is evaluating the dry fragrance. Grind your beans to a medium-coarse consistency—similar to what you would use for a science-based cold brew. Put the dry grounds into the bowls and cover them with a small piece of cardboard or a saucer to trap the gases.
Pass the bowls around and sniff deeply. This is your first opportunity to engage with the coffee’s aromatic potential. Does it smell like roasted nuts, fresh berries, or perhaps something floral? As we discussed in the science of aroma, the dry fragrance often reveals the most volatile compounds that might disappear once water is added. Take notes of your initial impressions before moving to the “wet” stage.
Step 2: Infusion and the “Break”
Once everyone has smelled the dry grounds, pour hot water (approx. 93°C) directly onto the coffee, filling the bowls to the brim. Let the coffee steep undisturbed for exactly four minutes. During this time, a “crust” of coffee grounds will form at the top of the bowl.
At the four-minute mark, it’s time to “break the crust.” Lean in close to the bowl, push the grounds back with the back of your spoon three times, and inhale the steam. This is the “Wet Aroma.” This moment is often the most intense olfactory experience of the session. After breaking the crust, use two spoons to gently skim off the remaining floating grounds and foam (the crema) from the surface, leaving a clean, dark liquid.
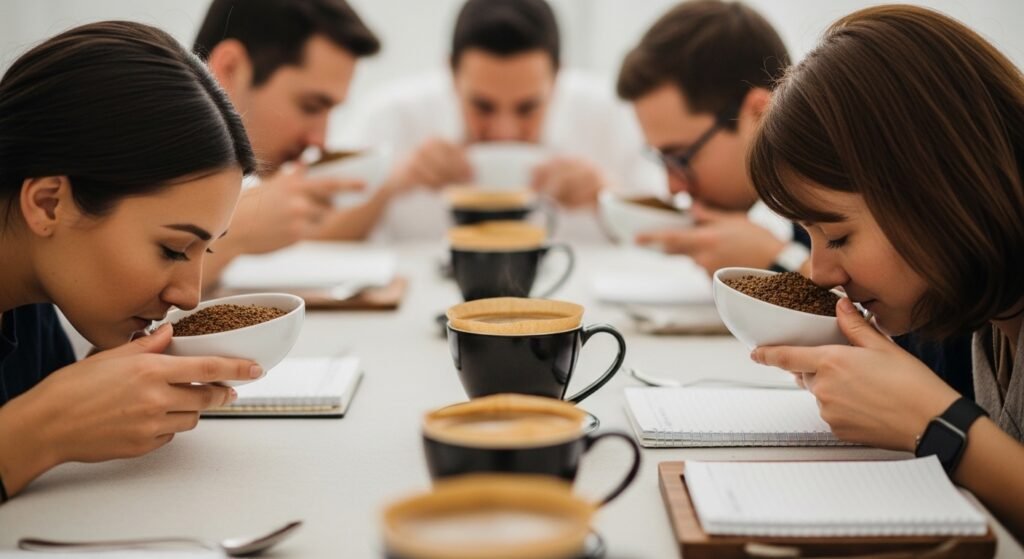
Step 3: The Slurp – Tasting for Quality
Wait until the coffee has cooled slightly (usually around the 8 to 10-minute mark). Tasting coffee when it is too hot will only scald your tongue and hide the flavor. When you are ready, dip your spoon into the liquid and slurp it into your mouth. The goal is to spray the coffee across your entire palate and up into your retro-nasal passage.
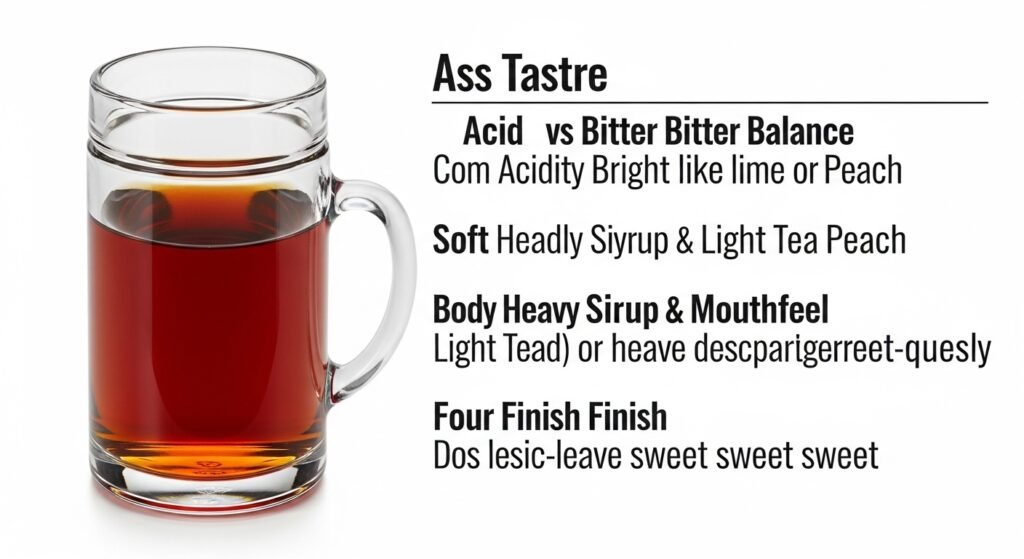
As you taste, go through a mental checklist. First, consider the acid vs. bitter balance. Is the acidity bright like a lime or soft like a peach? Next, evaluate the body and mouthfeel. Does the liquid feel heavy and syrupy or light and tea-like? Finally, look for the finish—does the flavor disappear quickly, or does it leave a pleasant sweetness on your tongue?
Conclusion: The Path to Sensory Mastery
Hosting a coffee cupping at home demystifies the specialty industry and puts the power of evaluation in your hands. It removes the “magic” and replaces it with methodology. By doing this regularly, you will find that your ability to describe what you are drinking improves exponentially. You will stop saying “this tastes like coffee” and start saying “this has the acidity of a green apple and a silky, buttery mouthfeel.”
The cupping lab is a space for curiosity and honesty. There are no wrong answers in a home cupping session; if you taste “toasted marshmallows” while the bag says “caramel,” you are both identifying the same browning sugars. The joy of coffee is in this exploration. So, gather your bowls, invite some friends, and start slurping. You are well on your way to becoming a true connoisseur of the world’s most complex bean.

Kevin Smith is deeply interested in the craft and culture of coffee, with practical experience exploring specialty beans, brewing techniques, and flavor development. Over the years, he has spent time studying preparation methods, observing extraction processes, and understanding how small details influence the final cup.
Through NovaWeHub, Kevin shares clear, practical, and research-based insights designed to make coffee knowledge approachable for everyone — from beginners to enthusiasts. His focus is on simplifying complex concepts and encouraging readers to explore coffee with curiosity, confidence, and a more refined sensory awareness.